구글에 블로그 등록하기
지난 시간에…
그 동안 우리는 지킬을 사용하여 블로그를 만들고, 테마를 적용했다.
그리고 완성된 블로그를 깃헙 레포지토리에 올려서 블로그를 온라인으로 볼 수도 있게 됐다.
하지만 구글로 site:(유저_ID).github.io로 검색해봐도 결과는 없다.
이번 포스트를 통해 구글에 등록하는 방법을 알아보자.
구글 서치 콘솔
구글에 검색 결과로 내 블로그가 노출되기 위해서는 먼저 구글에 내 블로그를 알려줘야 한다.
그러기 위해 구글 서치 콘솔에 들어가서 시작하기를 누른다.
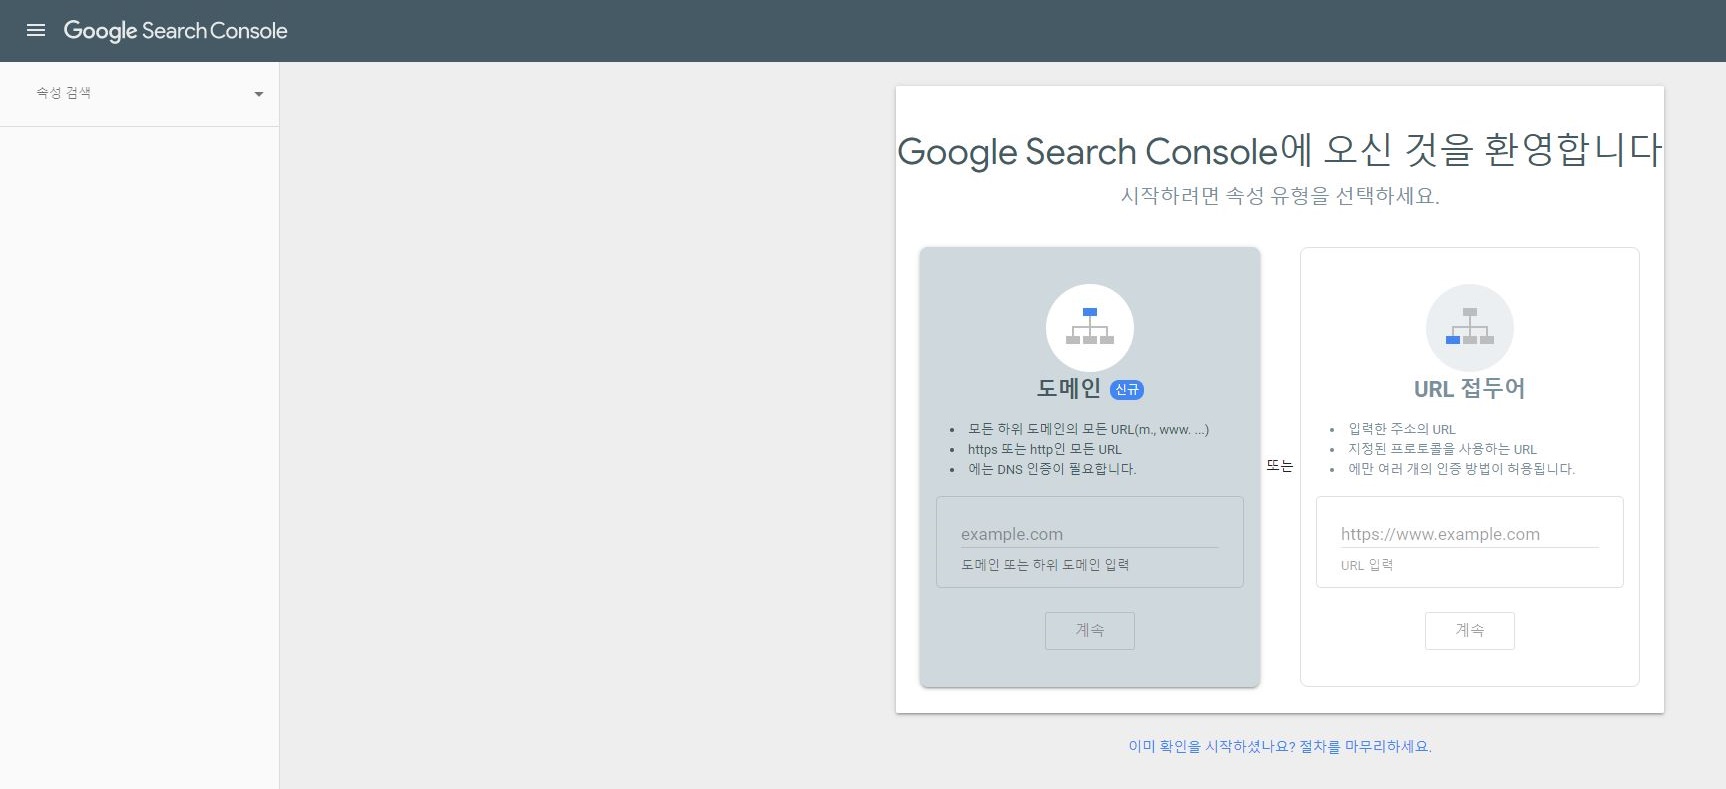
시작하기를 누르면 주소를 기입하는 곳이 보인다.
혹시 보이지 않는다면 좌측에 속성 검색 -> + 속성 추가로 위 화면과 같은 입력창을 띄울 수 있다.

위 사진처럼 URL 접두어에 https://(유저_ID).github.io를 입력하고 계속을 누른다.
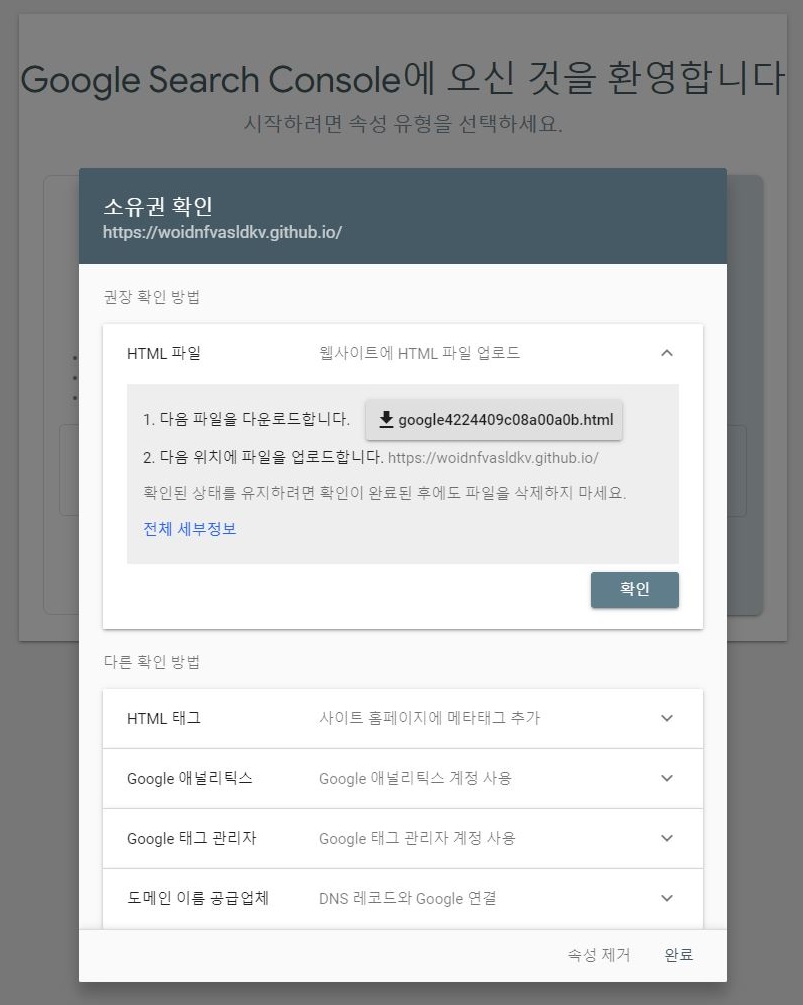
그러면 구글에서 소유권 확인을 위해 html파일을 준다.
html파일을 다운받는다.
이 파일은 깃헙 레포지토리 루트에 두면 된다.

본인 블로그 레포지토리에 가서 Add file -> Create new file을 누른다.
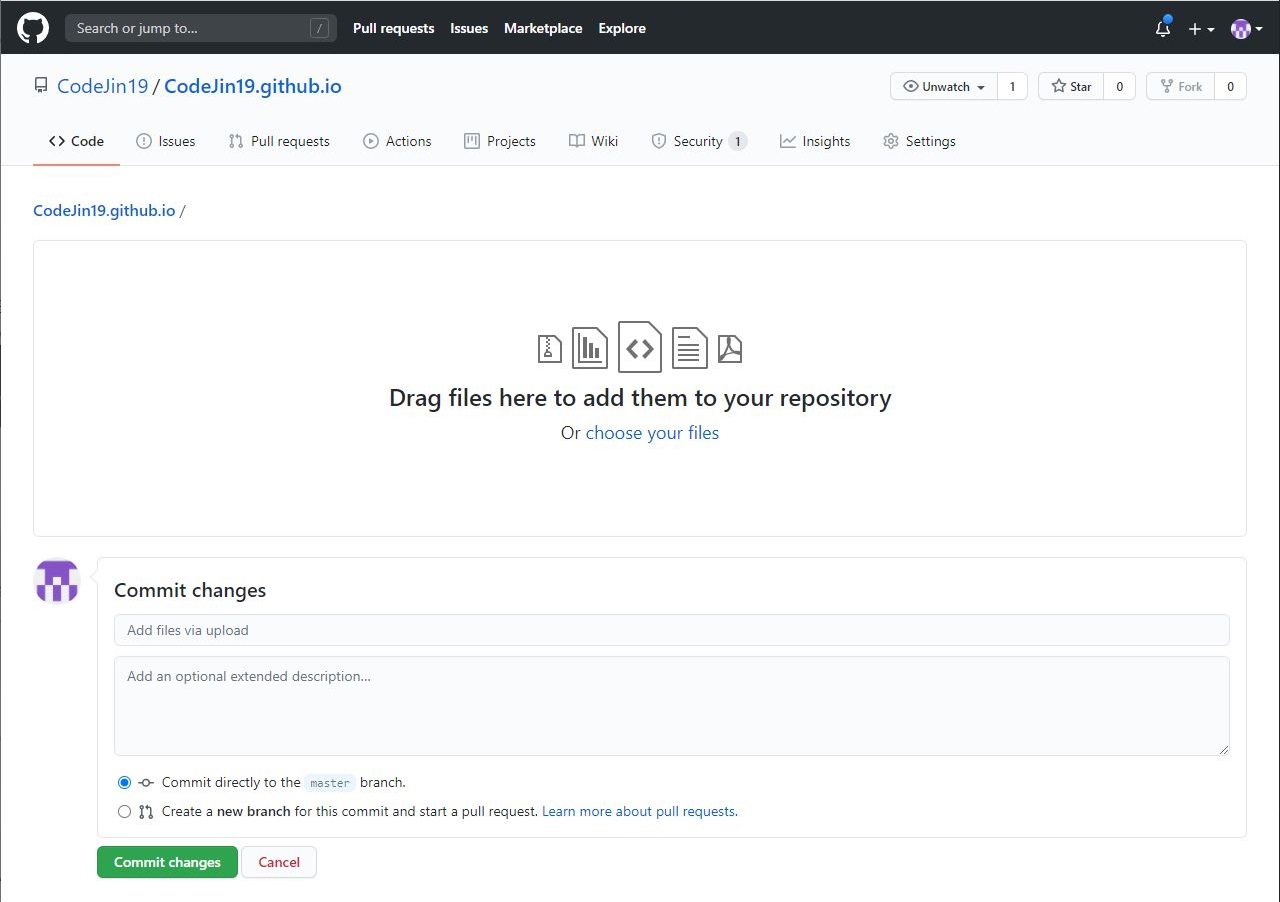
여기에 다운받은 html파일을 그대로 올리면 소유권이 확인된다.
sitemap.xml과 robots.txt
아직 구글 등록을 sitemap.xml과 robots.txt를 생성하고, sitemap을 구글 서치 콘솔에 제출해야한다.
먼저 _config.yml 파일에 url 항목에 본인의 블로그 주소가 적혀있는지 확인하자.
그리고 아까 html파일을 올린 위치에 sitemap.xml을 생성하여 다음 코드를 복붙한다.
---
layout: null
sitemap:
    exclude: 'yes'
---
<?xml version="1.0" encoding="UTF-8"?>
<urlset xmlns:xsi="http://www.w3.org/2001/XMLSchema-instance" xsi:schemaLocation="http://www.sitemaps.org/schemas/sitemap/0.9 http://www.sitemaps.org/schemas/sitemap/0.9/sitemap.xsd" xmlns="http://www.sitemaps.org/schemas/sitemap/0.9">
  {% for post in site.posts %}
    <url>
      <loc>{{ site.url }}{{ post.url }}</loc>
      {% if post.lastmod == null %}
        <lastmod>{{ post.date | date_to_xmlschema }}</lastmod>
      {% else %}
        <lastmod>{{ post.lastmod | date_to_xmlschema }}</lastmod>
      {% endif %}

      {% if post.sitemap.changefreq == null %}
        <changefreq>weekly</changefreq>
      {% else %}
        <changefreq>{{ post.sitemap.changefreq }}</changefreq>
      {% endif %}

      {% if post.sitemap.priority == null %}
          <priority>0.5</priority>
      {% else %}
        <priority>{{ post.sitemap.priority }}</priority>
      {% endif %}

    </url>
  {% endfor %}
</urlset>
마찬가지로 같은 위치에 robots.txt를 생성하여 아래 코드를 복붙한다.
맨 마지막 줄의 주소는 각자 본인 블로그 주소로 변경해야한다.
User-agent: *
Allow: /
Sitemap: http://codejin19.github.io/sitemap.xml
이제 다시 구글 서치 콘솔로 들어가자.
좌측의 색인 항목에 Sitemaps 항목으로 들어가면 아래 그림과 같은 페이지가 나온다.
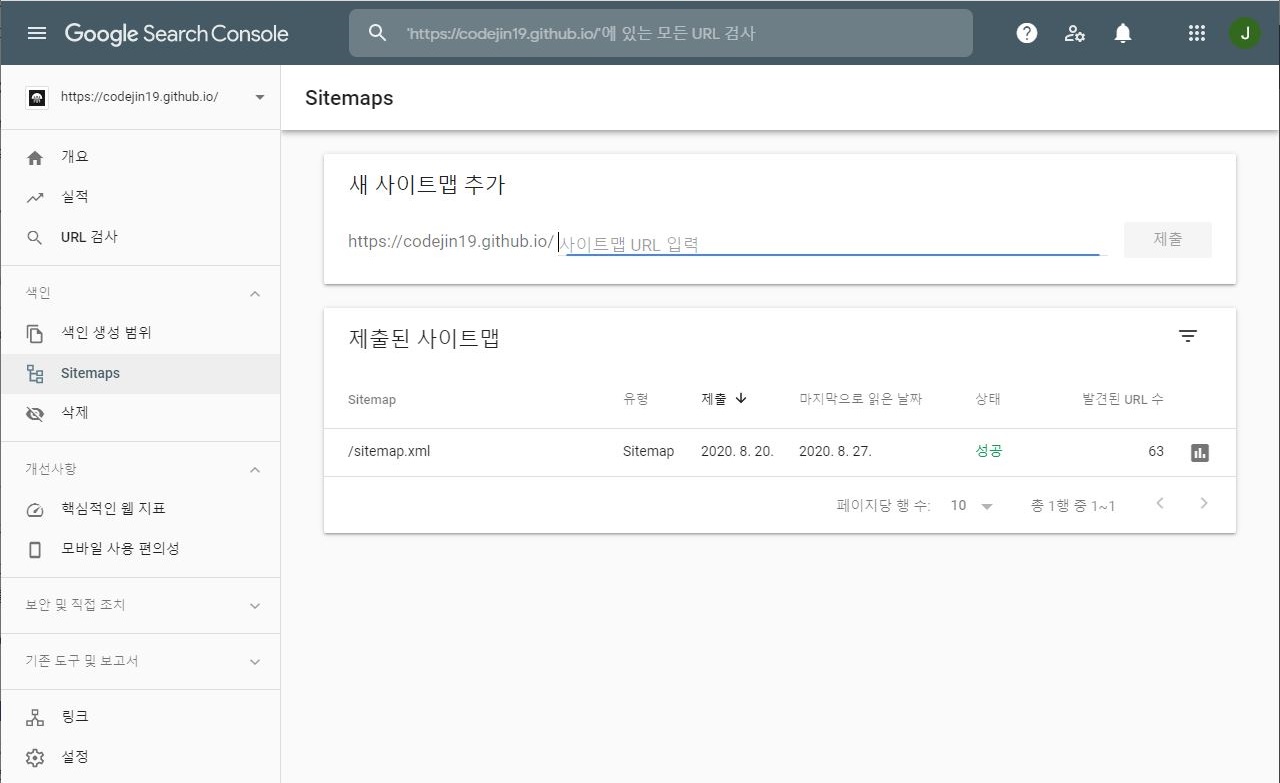
사이트맵 url 입력 창에 sitemap.xml을 입력 후, 제출하면 구글 등록 완료!
제출을 했다면 위 이미지의 제출된 사이트맵 항목과 같이 성공으로 나와야 한다.